Nervous Before You Press Record? How to Get Ready for Your Best Take 🎙️
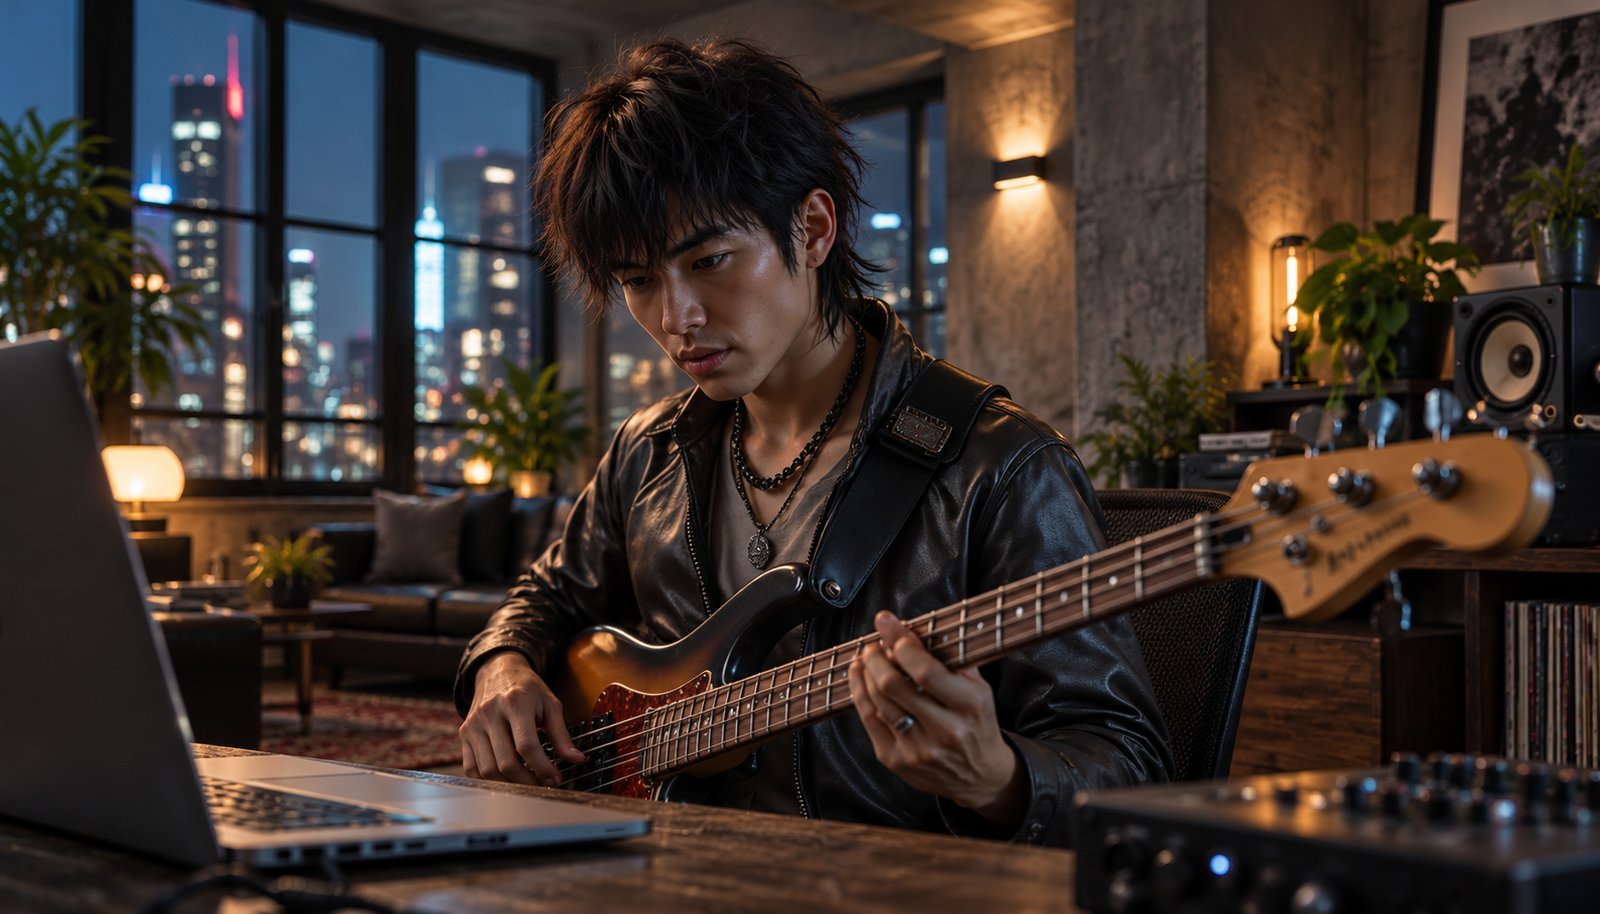
The Red Light Is On.
You've played this part a hundred times.
On the couch.
In the car.
In the shower.
Then you press record.
Your hands get stiff.
Your voice gets thin.
You forget the second line.
Why does that happen?
Because now it counts.
And the good news?
You can get ready for that feeling.
Before the red light comes on.
Also read: How to Record Great Sounding Vocals in a Home Studio
Quick Summary
A great take starts before you press record:
👉 Set up early — no tech problems when it's time to play
👉 Warm up — your voice and hands need it
👉 Make a great headphone mix — if it sounds good, you play better
👉 Record everything — even the practice runs
👉 Breathe — slow breaths calm your body down
The performance is the song.
Give it the best chance.
1. 🔌 Set Up Before You Need It
Nothing kills a mood faster than a cable that doesn't work.
So set up first.
Then take a break.
Then perform.
Check:
👉 Levels — loud enough, never clipping
👉 Latency — you hear yourself on time
👉 Click — on or off, at the right tempo
👉 Lyrics or chords — printed or on a screen you can see
When you sit down to perform, just perform.
Also read: What Is Latency? My Voice Sounds Delayed When I'm Recording
2. 🔥 Warm Up
Singers warm up their voice.
Players warm up their hands.
Hum.
Sing some easy scales.
Play the hardest part slowly.
Drink some room temperature water.
Five or ten minutes is enough.
Your first take won't be your warm-up anymore.
3. 🎧 Make a Headphone Mix You Love
This is the one most people skip.
If the headphone mix sounds bad, you perform badly.
Try:
👉 A little reverb on your voice in the headphones only
👉 Enough of yourself to hear every note
👉 Not too loud — loud headphones tire your ears fast
Ask yourself one question:
Does this make me want to play?
Also read: The 7 Steps To Recording Your Voice At Home
 ⭐️ Download my Free Music Production Guides or take my free Ableton Live Course ⭐️
4. 🧘 Calm the Nerves
Nerves are normal.
Even for pros.
Here's what helps:
👉 Breathe out slowly — longer out than in
👉 Record the practice runs — sometimes the take you didn't think counted is the best one
👉 Loop the section and do a few takes in a row
👉 Take a break after a few tries
Then pick the best parts later.
Not while you're performing.
Also read: Why Vocal Comping Is Like Story Editing ✍️
⚔️ Ready vs. Not Ready
| Not Ready | Ready | |
|---|---|---|
| Setup | Fixing cables between takes | Done before you start |
| Voice and hands | Cold | Warmed up |
| Headphones | Too quiet or too loud | A mix you love |
| Your head | Thinking about the gear | Thinking about the song |
⚖️ Too Much vs. Too Little
Too much...
And you rehearse the life out of the song.
Every take sounds tired.
Too little...
And you spend the session fixing problems instead of performing.
Just right is ready, then relaxed.
Set it up.
Warm up.
Then let it go.
🥷 Your Pre-Take Routine
Step 1
Set up and check your levels, latency and headphone mix before you perform.
Step 2
Warm up for five or ten minutes.
Step 3
Breathe out slowly, press record and keep every take.
The gear is ready.
You're ready.
Now play it like it counts.
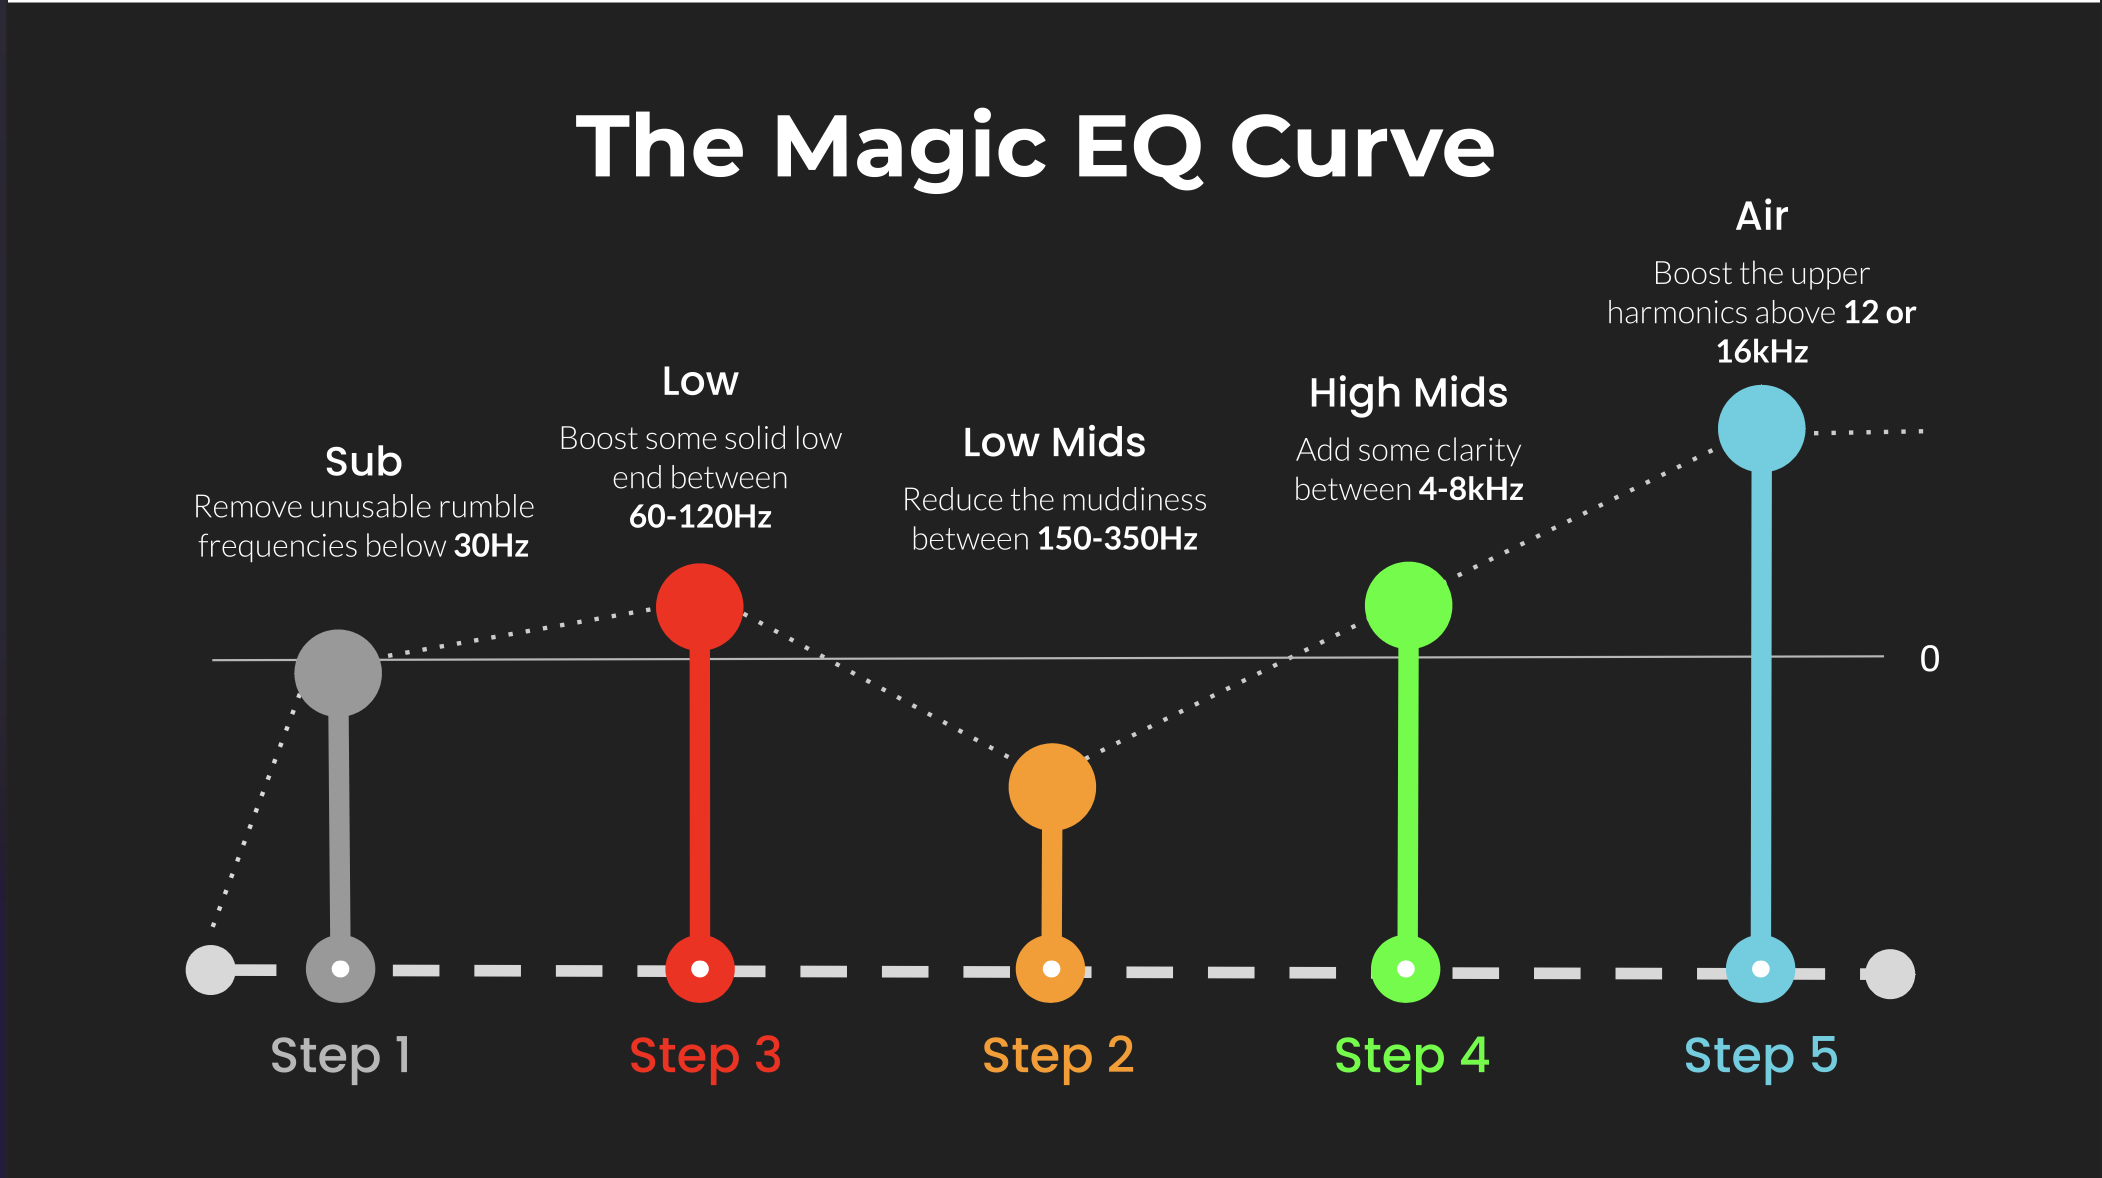 ⭐️ Download my Free Magic EQ settings Guide ⭐️

⭐️ Download my Free Magic Reverb settings Guide ⭐️
#protools #daw #homestudio #recordingschool #recording #musicproduction
Also read:
How to Start Your Own Online Business Teaching Music
Hey, I'm Futch - Music Production Coach and Ableton Certified Trainer

Learn how to make your first song and beat in Ableton Live with my
FREE 90-minute Ableton Live course
I've been teaching audio engineering and music production for 35 years.⭐️
Check out my new online music production program: Music Production Ninja...