
The 7 Steps To Recording Your Voice At Home
Recording your voice at home can be an excellent way to create high-quality audio content for podcasts, music, voiceovers, audiobooks, or other projects. With just a few simple steps, you can set up a home recording studio and start recording your voice in no time. Here are seven steps to follow for recording your voice at home:

Download my FREE Home Studio Setup Guide
Step 1. Start With Great Content
The most important thing is to start with great content. No matter how good your equipment or editing skills are, if your content is not engaging or interesting, your recordings will fall flat. So before you start recording, take the time to plan and prepare your content.
If you're recording a podcast, think about the topics you want to cover and the overall theme of your podcast. Consider what will make your podcast stand out and how you can provide value to your listeners. If you're recording music, think about the message you want to convey and the emotions you want to evoke in your listeners.
Once you have a clear idea of your content, it's time to start preparing. Research your topic thoroughly and gather any resources or materials you need. If you're recording a podcast, create an outline or script to help you stay on track during the recording. If you're recording music, practice your lyrics and melodies until you feel confident.
Remember, the key to great content is to be authentic and genuine. Speak from your own experiences and share your own perspective. Don't try to be someone you're not or imitate someone else's style too much. Your unique voice and perspective are what will make your content stand out and resonate with your audience.

Read Starting a budget home studio for less than $500
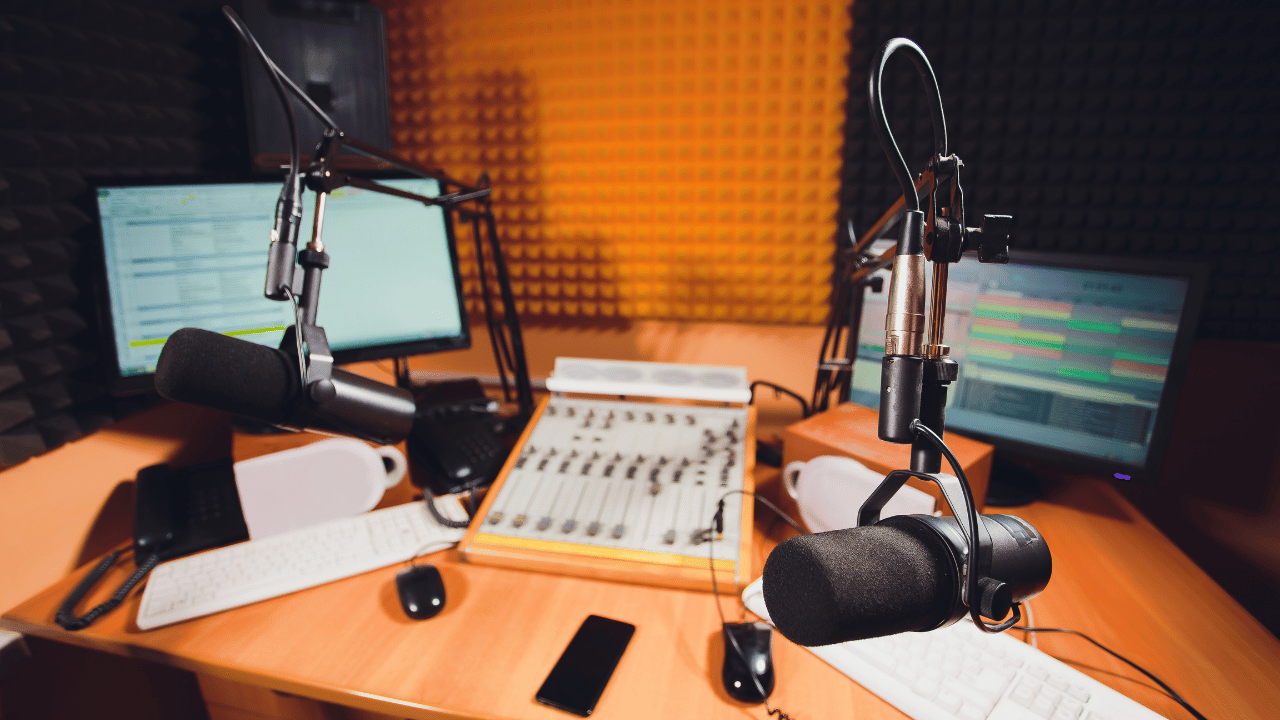
Step 2. Choose the Right Microphone
There are many different types of microphones available, each with their own strengths and weaknesses. It's important to choose the right microphone for your specific needs to ensure that your recordings sound clear and professional.
One of the most popular types of microphones for recording vocals is the condenser microphone. This type of microphone is sensitive and captures a wide range of frequencies, making it ideal for capturing the nuances of your voice. It's important to note that condenser microphones require power to operate, either through an external power source or through phantom power provided by your audio interface.
Another type of microphone commonly used for recording vocals is the dynamic microphone. Dynamic microphones are less sensitive than condenser microphones, making them ideal for recording loud sources, such as guitars or drums. However, they can still be used for recording vocals if you're looking for a warmer, more intimate sound.
When choosing a microphone, consider your budget and the features that are important to you. Some microphones come with built-in pop filters or shock mounts to help reduce unwanted noise, while others have switchable polar patterns to help capture sound from different directions.
It's also important to consider the overall quality of the microphone. A high-quality microphone will not only sound better, but it will also be more durable and last longer. Look for a microphone from a reputable brand with good reviews to ensure that you're getting a quality product.

Download my FREE Music Production Resources including EQ and Compressor settings
Step 3. Find a Quiet Space
Once you have your microphone, you need to find a quiet space to record. A quiet space will help to minimize background noise and ensure that your voice is the primary focus of the recording. Background noise can be distracting and can make your recordings sound unprofessional. To ensure that your recordings sound clear and free of unwanted noise, find a quiet space to record in.
Ideally, you want a space that is free of outside noise, such as traffic or construction. If you live in a noisy area, consider recording at a time when there is less noise, such as early in the morning or late at night. You can also use noise-cancelling headphones or a noise gate to help reduce unwanted noise.
It's also important to consider the acoustics of the space you're recording in. A room with hard surfaces, such as tile or hardwood floors, can create unwanted echoes and reverberation. To reduce these effects, consider using sound-absorbing materials, such as blankets or foam panels, to help dampen the sound.
When setting up your recording space, make sure that you have enough room to move around and that you're comfortable. Consider using a mic stand to hold your microphone in place and to help reduce handling noise. You can also use a pop filter to help reduce unwanted plosives, such as "p" and "b" sounds.

Take my FREE Ableton Live course
Step 4. Choosing Recording Software
Choosing the right recording software (for you) is an important part of recording your voice at home. Recording software, also known as digital audio workstations (DAWs), can vary in complexity and features, so it's important to find one that suits your needs and skill level.
Some popular recording software options include GarageBand (for Mac users), Audacity (for both Mac and Windows users), and Adobe Audition (for more advanced users). These programs offer a range of features, from basic recording and editing tools to advanced mixing and mastering capabilities.
Some more advanced DAWs for mac and PC include Pro Tools, Ableton Live, Cubase and Logic (for Mac users). These DAWs are typically used by musicians for recording music and vocals but they also can be used for podcasts, audiobooks, voice overs or any other type of voice recording and editing.
When choosing recording software, consider your budget, the type of content you'll be recording, and your level of experience with audio editing software. Look for a program that offers the features you need, such as multiple tracks, effects, and automation, and make sure that it's compatible with your computer and audio interface.
If you're new to recording, consider starting with a simpler program, such as GarageBand or Audacity. These programs are user-friendly and offer basic recording and editing tools that are perfect for beginners. As you become more comfortable with recording and editing, you can explore more advanced programs like Adobe Audition.
When using recording software, make sure that you're familiar with the program's features and interface. Take some time to experiment with the different tools and effects, and don't be afraid to ask for help or consult online tutorials if you get stuck.

Step 5. Set up Your Recording Equipment
Once you have your content, microphone, and quiet space ready, it's time to set up your recording equipment. Setting up your equipment correctly is essential to ensure that your recordings sound clear and professional.
The first thing you'll need is an audio interface. An audio interface is a device that connects your microphone to your computer and allows you to record and monitor your recordings. There are many different audio interfaces available, ranging from simple, two-channel devices to more complex units with multiple inputs and outputs.
Next, connect your microphone to your audio interface using an XLR cable. Make sure that the cable is securely connected and that there are no loose connections. If your microphone requires phantom power, make sure that it's turned on and that your audio interface is providing the necessary power.
Once your microphone is connected, open your recording software and make sure that your audio interface is selected as the input device. Test your microphone by recording a short sample and listening back to it. If you notice any unwanted noise or distortion, adjust your microphone placement or gain settings to correct the issue.
When setting up your recording equipment, it's important to consider your environment. Make sure that your computer and other electronic devices are located away from your microphone to avoid unwanted interference. You can also use a noise gate or noise reduction software to help reduce unwanted noise.

Step 6. Record Your Voice
Now that you have your content, microphone, quiet space, and recording equipment set up, it's time to start recording your voice. Recording your voice can be a bit intimidating at first, but with some practice, you'll soon become more comfortable and confident.
Before you start recording, take a few deep breaths and relax. Position yourself comfortably in front of your microphone, making sure that you're not too close or too far away. Speak clearly and at a consistent volume, and try to maintain a steady pace throughout your recording.
It's a good idea to record a few test takes before starting your final recording. This will give you a chance to adjust your microphone placement or gain settings if necessary. Listen back to your test takes and make any necessary adjustments before starting your final recording.
When recording, try to minimize any background noise or interruptions. If something does interrupt your recording, stop and start again from the beginning. It's better to have a few good takes than to try to patch together a recording with interruptions or mistakes.
Once you're happy with your final recording, listen back to it and make any necessary edits. Remove any unwanted noise or mistakes and adjust the volume levels as necessary. If you're using music or other audio elements, make sure that they're mixed in at a consistent volume and don't overpower your voice.

Read The 6 Steps to Editing Vocals & Music
Step 7. Edit and Export Your Recording
After you have recorded your voice and made any necessary edits using your recording software, it's time to export your recording in a format that can be easily shared and distributed.
Most recording software will allow you to export your recording in a variety of formats, including MP3, WAV, and AIFF. MP3 is the most common format and is widely supported by most devices, while WAV and AIFF are higher quality but can result in larger file sizes.
When exporting your recording, make sure that you choose a suitable bitrate and sample rate. Bitrate refers to the amount of data used to store audio per second, while sample rate refers to the number of samples taken per second to represent the sound wave. Higher bitrates and sample rates will result in higher quality recordings but can also result in larger file sizes.
Once you have exported your recording, make sure to test it on multiple devices to ensure that it sounds good and is compatible with different platforms. You can also add metadata to your recording, such as the artist name, title, and album information, to help organize and identify your recordings.
In addition to exporting your recording, you may also want to create a backup of your files to ensure that you don't lose your recordings due to computer crashes or other issues. Consider storing your recordings on an external hard drive or cloud storage service to keep them safe and easily accessible.
In conclusion, recording your voice at home is a simple process that anyone can do with the right equipment and a little bit of know-how. By following these seven steps, you'll be able to create high-quality recordings of your voice that you can use for podcasts, music, or other projects. So grab a microphone, find a quiet space, and start recording your voice today!
![]()
Futch - Music Production Coach and Ableton Certified Trainer
Here it is, my live online mixing course: BALANCE Part I:Mixing & DAW
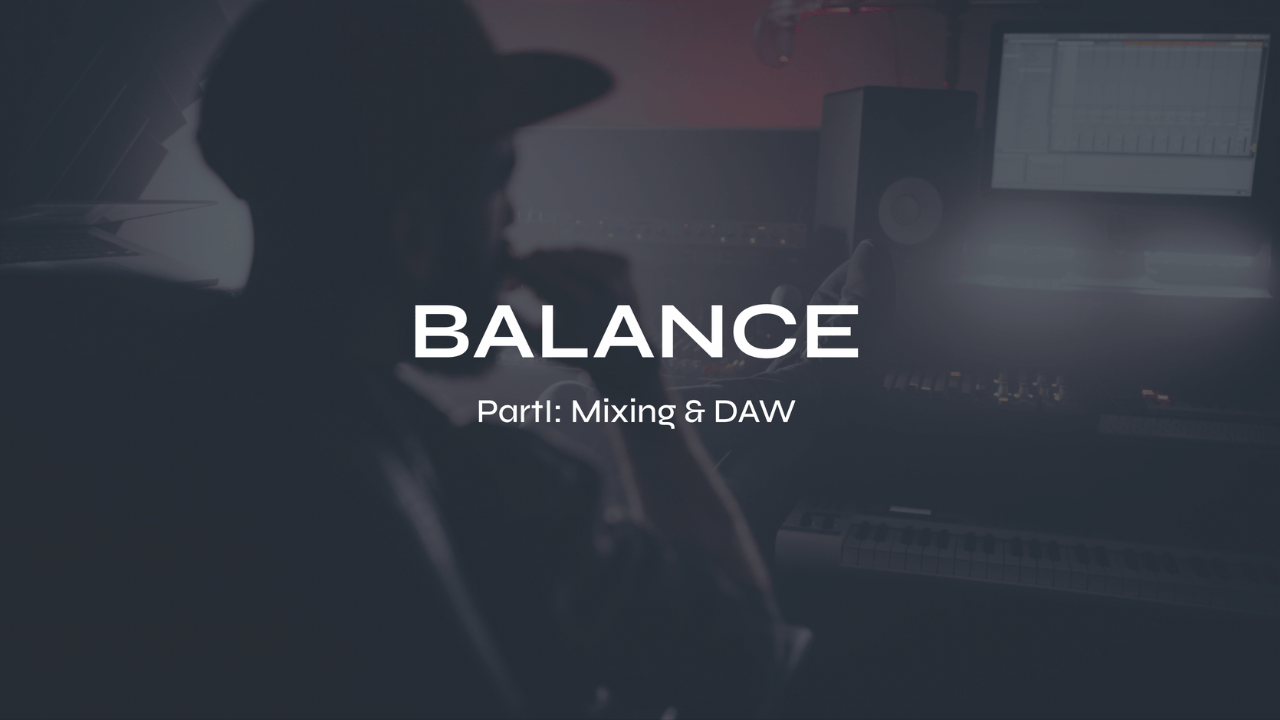
BALANCE Part I: Mixing & DAW live online course
What you’ll get:
9 live online Zoom classes (each class is about 2.5 hours long)
scheduled to match the date & time availability of each cohort
9 on-demand video recordings of each module for review. You will always have access to these videos for reference.
9 module PDF reference guides.
9 assignments to practice what you’ve learned after each module
Quizzes and self-assessments after each module to test your understanding of the concepts.
A growing community of members to exchange feedback, ask questions and collaborate with.
Educational discounts on select plugins and hardware from LEVELS partners for successful (80%) quiz results
100% Money-Back Guarantee - just contact support and let me know before class 5 starts. You will then lose access to everything.


