
The 6 Steps to Editing Vocals & Music

Music is a powerful form of expression that can inspire, evoke emotion, and captivate audiences. However, creating great-sounding music takes more than just talent and passion. It requires skillful editing to polish and refine the raw recording and bring out the best in the vocals and music.
In this article, I'll go over the six essential steps to editing vocals and music. These steps will help you produce professional-quality recordings that sound loud, clear, and refined.

Take my my FREE Ableton Live course
Step 1: Start with great takes
Before you even begin the editing process, it's important to start with great takes. This means capturing high-quality recordings of both the vocals and the music.
To ensure that you have great takes to work with, it's important to invest in quality equipment, such as a good microphone, preamp, and audio interface. Additionally, it's important to create an environment that is conducive to recording, such as a soundproof room or a quiet space with minimal background noise.
When recording vocals, it's important to work with the performer to capture the best possible performance. This may involve providing guidance on things like mic technique, breath control, and vocal expression. Encourage the performer to give their best performance and to take breaks as needed to maintain vocal stamina.
Similarly, when recording music, it's important to work with the musicians to capture the best possible performances. This may involve rehearsing the music prior to recording and providing guidance on things like tempo, dynamics, and expression.
By starting with great takes, you'll have a solid foundation for the editing process. This will make it easier to achieve the polished and refined sound that you're looking for.
Step 2: Composite
Once you have recorded the vocals and music, the next step in editing is to create a composite track. This involves selecting the best parts from multiple takes and combining them into a single main track.
To create a composite track, you'll need to listen to each take carefully and select the best parts. This may involve comparing multiple takes side by side and choosing the parts that have the best performance, tone, and timing.
Once you've selected the best parts, you can use a digital audio workstation (DAW) to assemble them into a single track. This may involve cutting and pasting sections of the recording, or using crossfades to smooth the transitions between takes.
The goal of creating a composite track is to create a unified performance that captures the essence of the song. This means selecting the parts that work best together, rather than simply choosing the "perfect" take.
Keep in mind that creating a composite track can be a time-consuming process, but it's an important step in achieving a polished and professional sound. By taking the time to carefully select and combine the best parts of each take, you'll be able to create a performance that truly shines.

Download my FREE Home Studio Setup Guide
Step 3: Timing
Once you have created a composite track, the next step is to fix any timing issues that may be present in the recording. Timing issues can include things like uneven rhythms, sloppy entrances, or overall lack of precision.
To fix timing issues, you can use a range of tools and techniques available in your DAW. These may include features such as quantization, time stretching, or editing the placement of individual notes or beats.
Quantization involves aligning the timing of individual notes or beats with a grid, allowing you to tighten up the performance and create a more precise rhythm. This can be useful for correcting issues like uneven timing or misplaced notes.
Time stretching allows you to adjust the tempo of a recording without altering the pitch. This can be useful for correcting issues with timing that are more complex or subtle than those that can be fixed with quantization.
When editing timing, it's important to maintain the natural feel of the performance as much as possible. This means avoiding over-correction or making the performance sound too robotic or mechanical. A good rule of thumb is to focus on correcting the most obvious timing issues, while leaving some natural variation in the performance.
By taking the time to correct timing issues, you can create a more polished and professional sounding recording. This will make it easier for listeners to engage with the music and appreciate the performance.
Step 4: Tuning
After fixing any timing issues, the next step in editing vocals and music is to address any tuning issues that may be present. Tuning issues can include things like off-key notes, flat or sharp pitches, or overall lack of pitch precision.
To fix tuning issues, you can use pitch correction software such as Auto-Tune or Melodyne. These tools allow you to adjust the pitch of individual notes or phrases within a recording, helping to correct any pitch issues.
When using pitch correction software, it's important to be judicious in your adjustments. Over-correction can lead to a robotic or unnatural sounding performance, while under-correction can leave pitch issues unresolved.
It's also important to listen carefully to the performance and make sure that any pitch corrections maintain the natural feel of the performance. This means avoiding overly aggressive pitch correction, and focusing on correcting the most obvious pitch issues.
In addition to pitch correction software, you can also use other techniques to address tuning issues. For example, you can use vocal comping to select the best parts of multiple vocal takes and combine them into a single performance. This can help to minimize pitch issues by selecting the best possible performance.
By taking the time to correct any tuning issues, you can create a more polished and professional sounding recording. This will help to ensure that the performance is engaging and enjoyable for listeners.

Download my FREE Music Production Guides
Step 5: Clean Up
After addressing any timing and tuning issues, the next step in editing vocals and music is to clean up the recording. This involves removing any unwanted noise, clicks, pops, or other imperfections that may be present in the recording.
To clean up a recording, you can use a range of tools and techniques available in your DAW. These may include features such as noise reduction, de-essing, or editing out clicks and pops manually.
Noise reduction involves identifying and removing background noise from a recording. This can include things like hum, hiss, or electrical noise, which can be distracting to listeners. De-essing involves reducing harsh sibilance in vocal recordings, which can be caused by excessive "s" or "sh" sounds.
Editing out clicks and pops manually involves identifying any audible clicks or pops in the recording and using a waveform editor to remove them. This can be a time-consuming process, but it can help to create a cleaner and more polished recording.
When cleaning up a recording, it's important to be careful not to overdo it. Overzealous noise reduction or de-essing can lead to a dull or lifeless recording, while over-editing clicks and pops can leave the recording sounding unnatural or artificial.
By taking the time to clean up a recording, you can create a more professional sounding performance that is free from distracting noises and imperfections. This will help to engage listeners and create a more enjoyable listening experience.
Step 6: Consolidation
The final step in editing vocals and music is to consolidate the recording into a final, unified track. This involves creating a cohesive, polished performance that is ready for mixing and mastering.
To consolidate a recording, you can use a range of tools and techniques available in your DAW. These may include features such as crossfades, volume automation, or grouping tracks together for easier management.
Crossfades allow you to smooth out any transitions between different parts of the recording, such as between different vocal takes or between verses and choruses. Volume automation allows you to adjust the levels of individual tracks over time, helping to create a more dynamic and engaging performance.
Grouping tracks together can be helpful for managing multiple elements of the recording, such as vocals, drums, and bass. This can make it easier to apply global adjustments to the mix, such as adjusting the overall level or adding effects.
When consolidating a recording, it's important to listen carefully to the performance and make sure that everything sounds cohesive and balanced. This means adjusting levels, panning, and effects as needed to create a final mix that sounds polished and professional.
By taking the time to consolidate a recording, you can create a final mix that is ready for mastering and distribution. This will help to ensure that the recording sounds great on a variety of playback systems, and that it engages listeners and creates a memorable listening experience.

In Conclusion, editing vocals and music is a complex process that requires skill and attention to detail. By following these six essential steps, you'll be well on your way to producing professional-quality recordings that sound clean, clear and refined.
Take your time, be patient, and experiment with different techniques until you find what works best for your particular project. With practice and experience, you'll be able to produce amazing-sounding recordings that you can be proud of.
![]()
Futch - Music Production Coach and Ableton Certified Trainer
Here it is, my live online mixing course: BALANCE Part I:Mixing & DAW
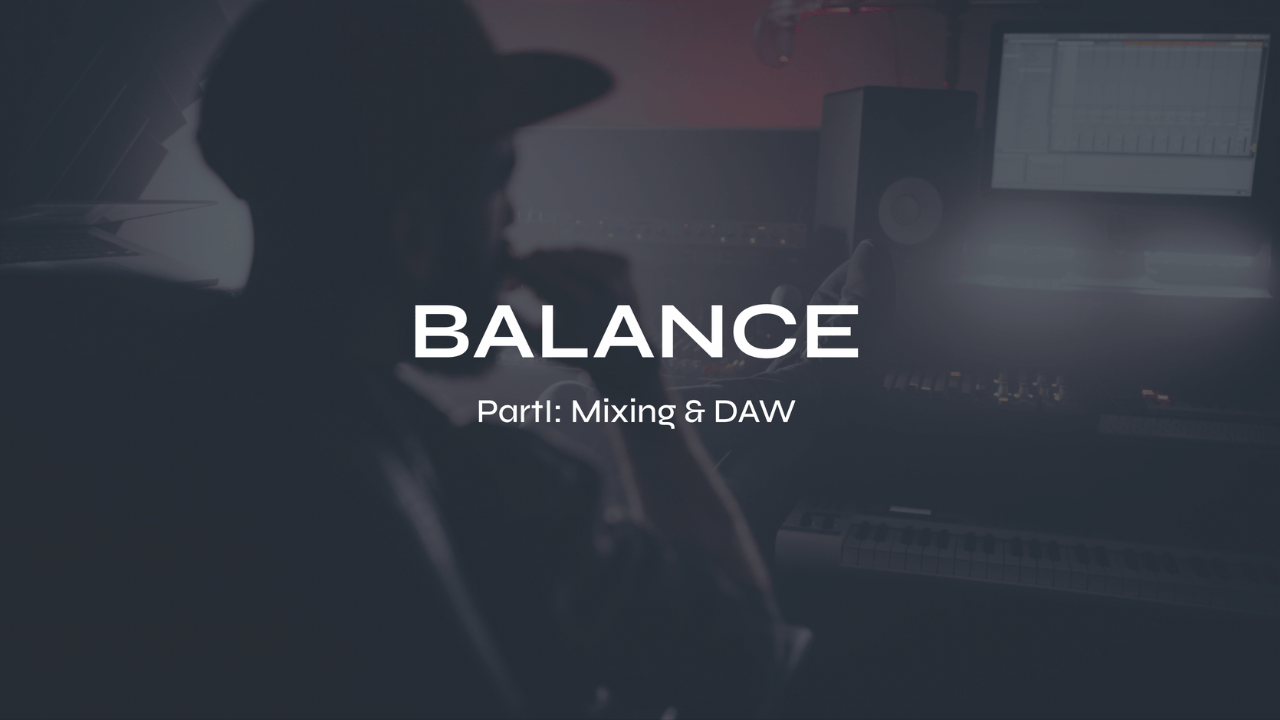
BALANCE Part I: Mixing & DAW live online course
What you’ll get:
9 live online Zoom classes (each class is about 2.5 hours long)
scheduled to match the date & time availability of each cohort
9 on-demand video recordings of each module for review. You will always have access to these videos for reference.
9 module PDF reference guides.
9 assignments to practice what you’ve learned after each module
Quizzes and self-assessments after each module to test your understanding of the concepts.
A growing community of members to exchange feedback, ask questions and collaborate with.
Educational discounts on select plugins and hardware from LEVELS partners for successful (80%) quiz results
100% Money-Back Guarantee - just contact support and let me know before class 5 starts. You will then lose access to everything.


